🤖 User Guide#
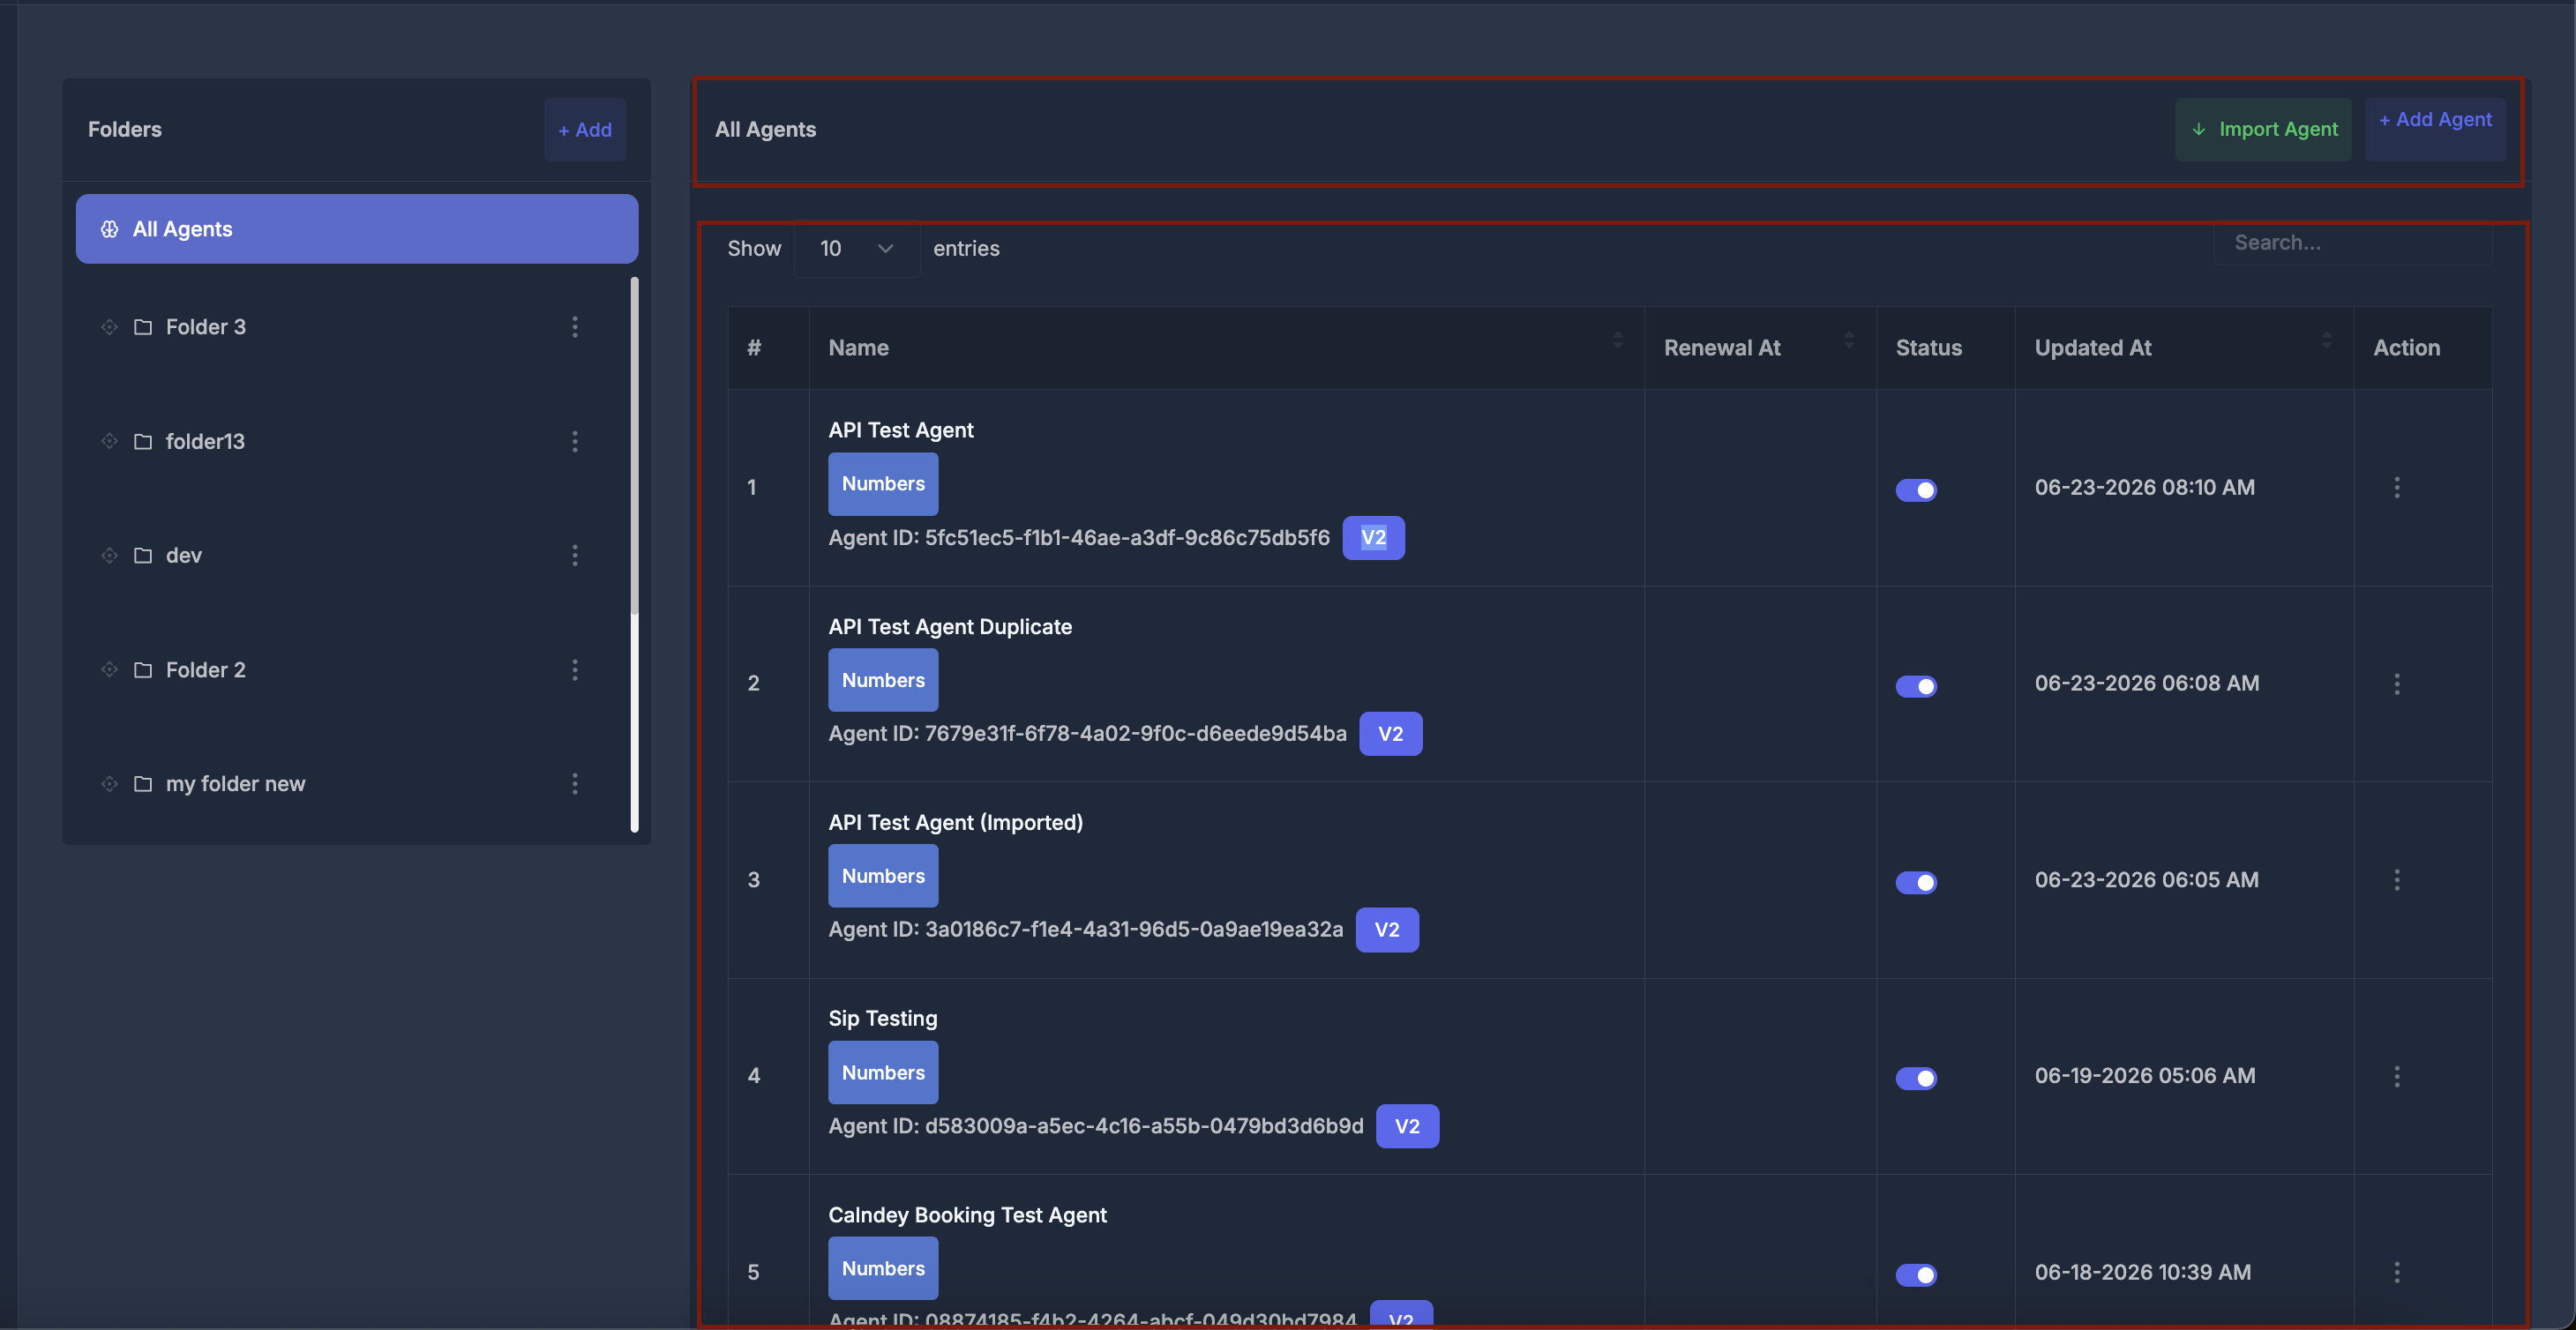
The AI Agents page is where you view all of your company’s voice AI agents, organize them, and open the tools needed to manage each one. The left side shows Folders; the right side shows the All Agents list.
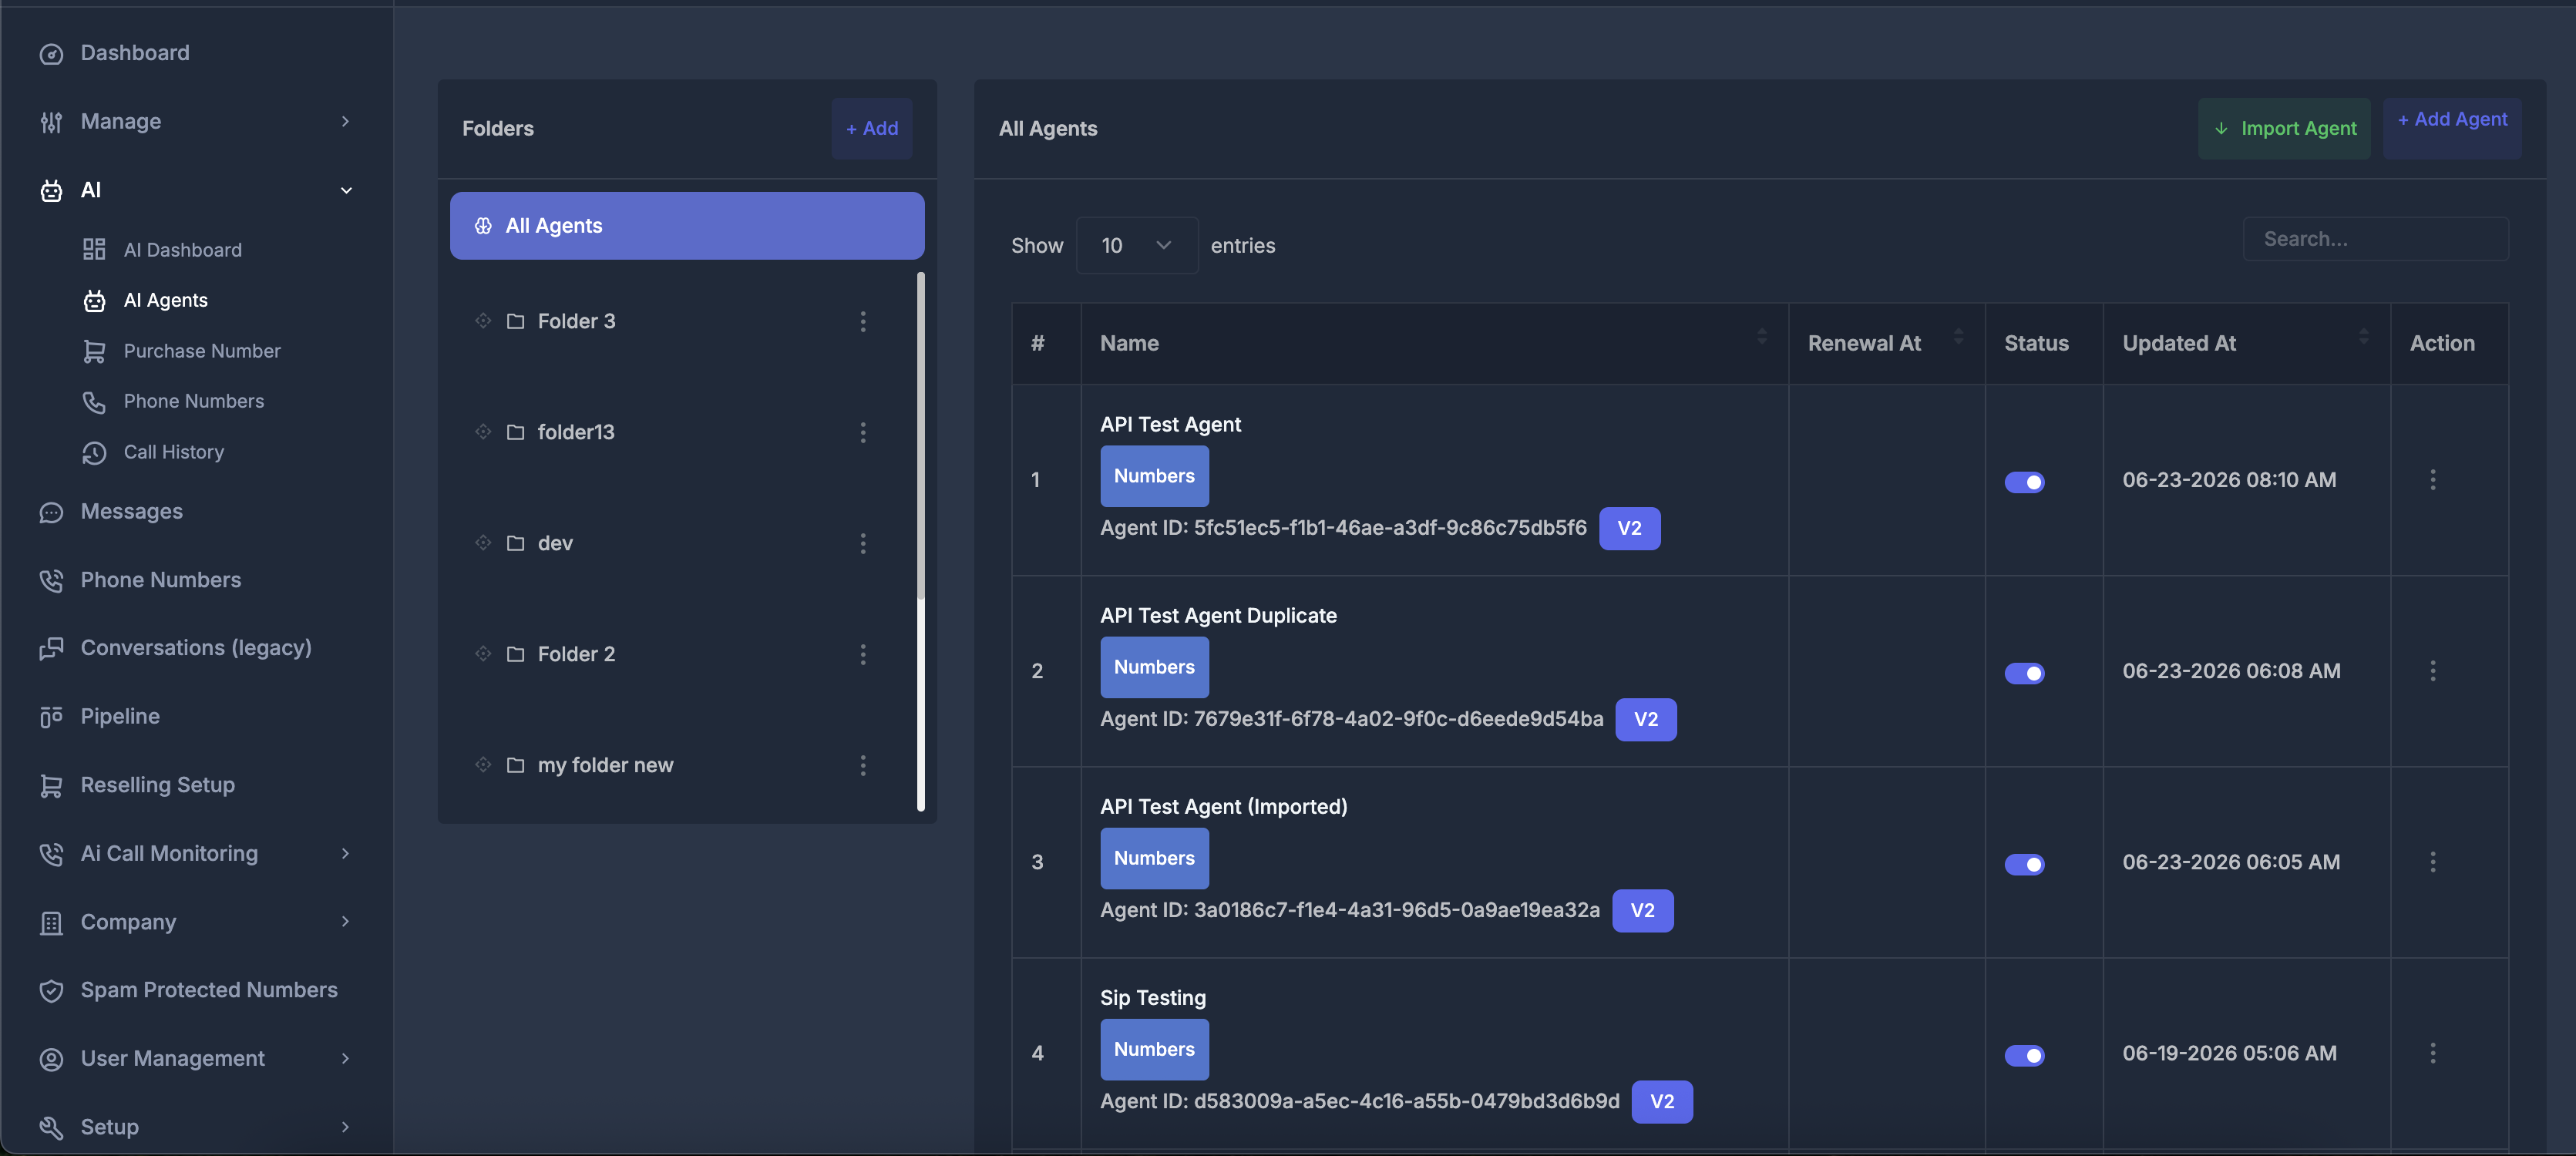
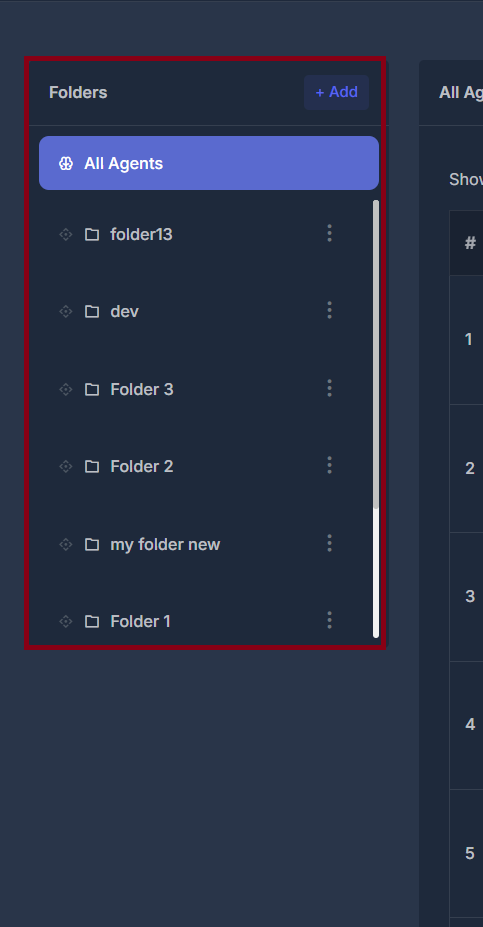
📁 Left panel: Folders#
📋 “All Agents”
When it is selected, you see every agent (no folder filter).
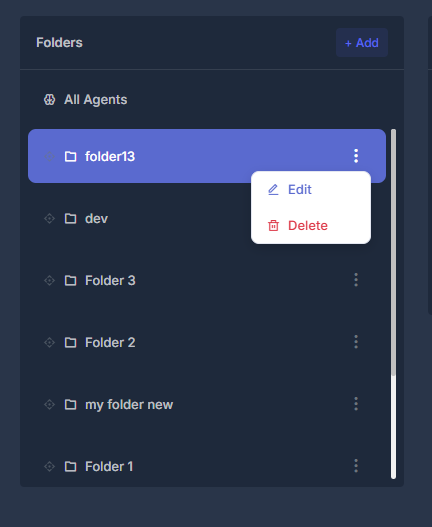
📂 Your own folders
- Each folder has a name you chose.
- Using the grip icon, you can drag a folder up or down to change order only (which folder appears higher in the list).
- The three dots next to a folder open Edit or Delete.
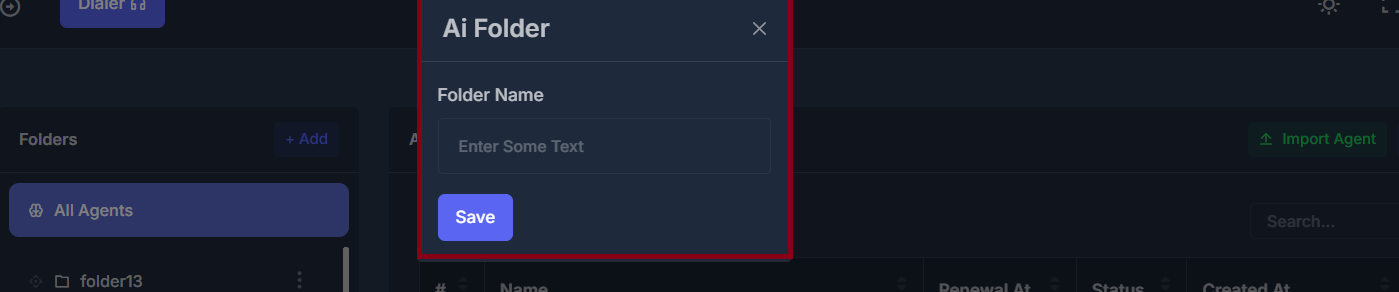
- + Add opens a small window: enter a Folder Name and choose Save to create a new folder.
🆕 No folders yet
If you have not created any folders, you will see a short message encouraging you to create folders so you can organize agents.
💾 Remembering the selected folder
The application remembers which folder you last selected. The next time you open this page, that same folder is selected again when it still exists. If that folder was removed, you are returned to All Agents.
🗑️ Deleting a folder
You are asked to confirm before a folder is removed. The page may refresh afterward.
🖥️ Right panel: “All Agents” — top buttons#
📥 Import Agent
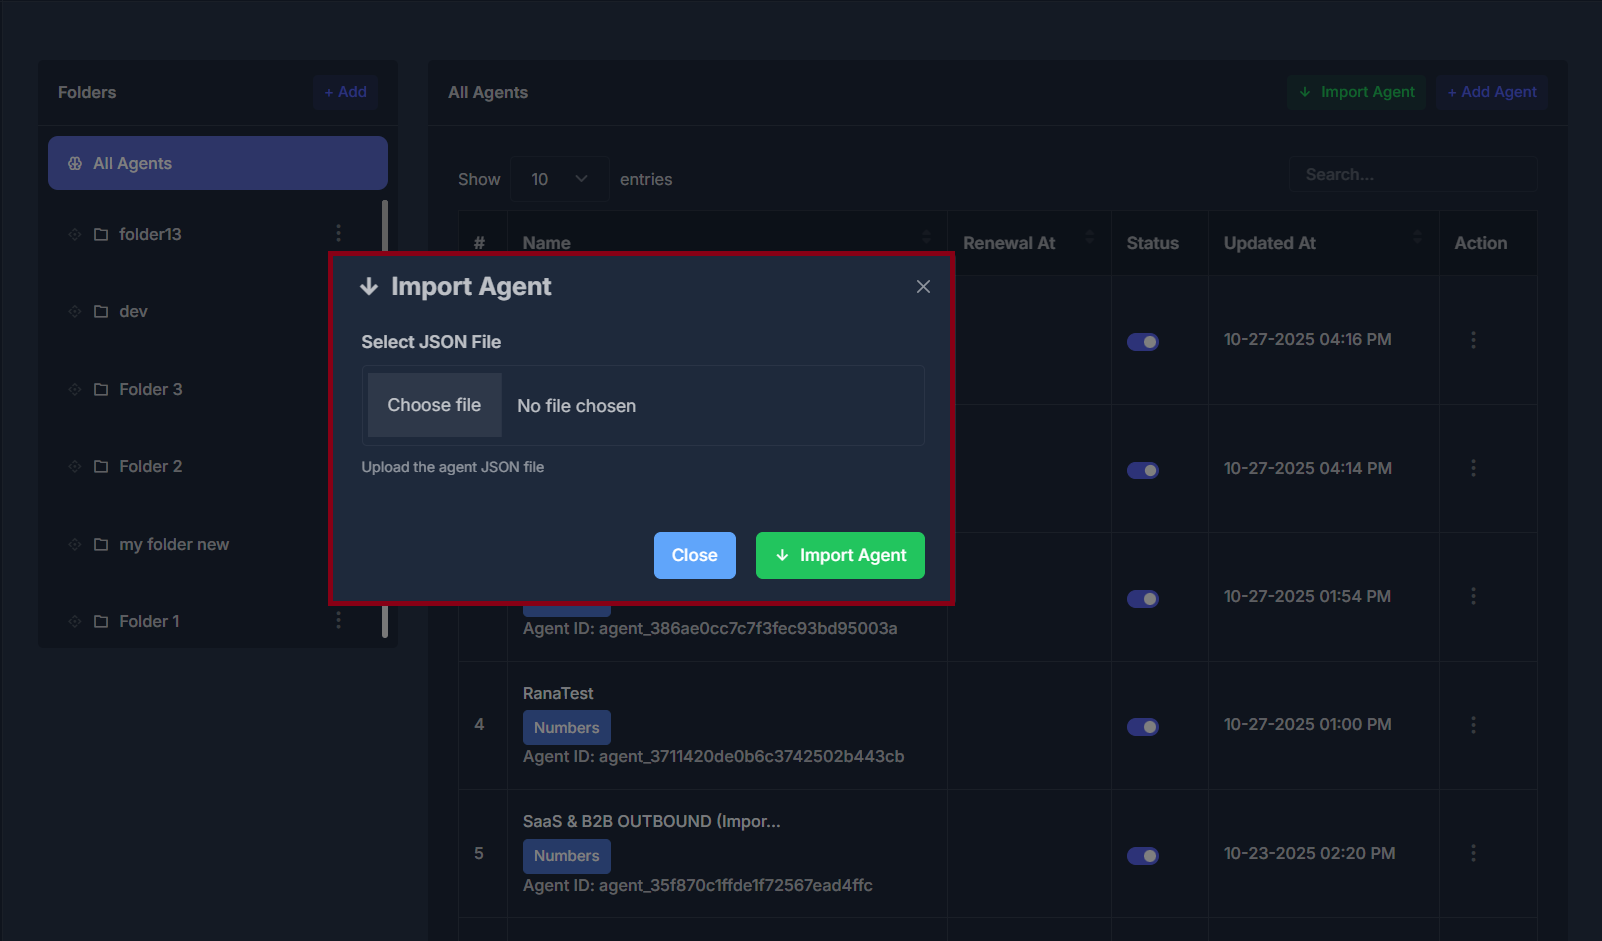
- Use this to bring an agent back into the system using a file you previously exported (or a compatible backup file).
- After you pick a file, you may see a short preview such as the agent name and voice identifier when available.
- Choosing Import Agent starts the import; on success, the list refreshes.
- If the file is invalid or incomplete, you will see an error message.
➕ Add Agent
This depends on your plan:
- If both agent types are available, a window asks roughly how many calls per day the agent will handle.
- Under 100 calls per day is described as higher voice quality and lower delay; Get Started takes you to the setup path that matches that choice.
- 100 or more calls per day is described for higher volume; Get Started opens the other matching setup path.
- If your plan only allows one agent type, Add Agent goes straight to the correct “create agent” screen without that two-card window.
📊 The Agents table#
🔢 # (Number)
The row number on the current page. Numbers change when you move to another page.
🏷️ Name
- The agent’s name (very long names may be shortened on screen).
- Clicking the name opens that agent’s full editing screen (the right screen depends on the agent type).
- The Numbers button opens the phone numbers window .
- Agent ID is the unique identifier the system uses for that agent everywhere.
📅 Renewal At
If the agent is billable, this may show the next renewal date and time in your timezone. Otherwise it may stay empty.
🔛 Status
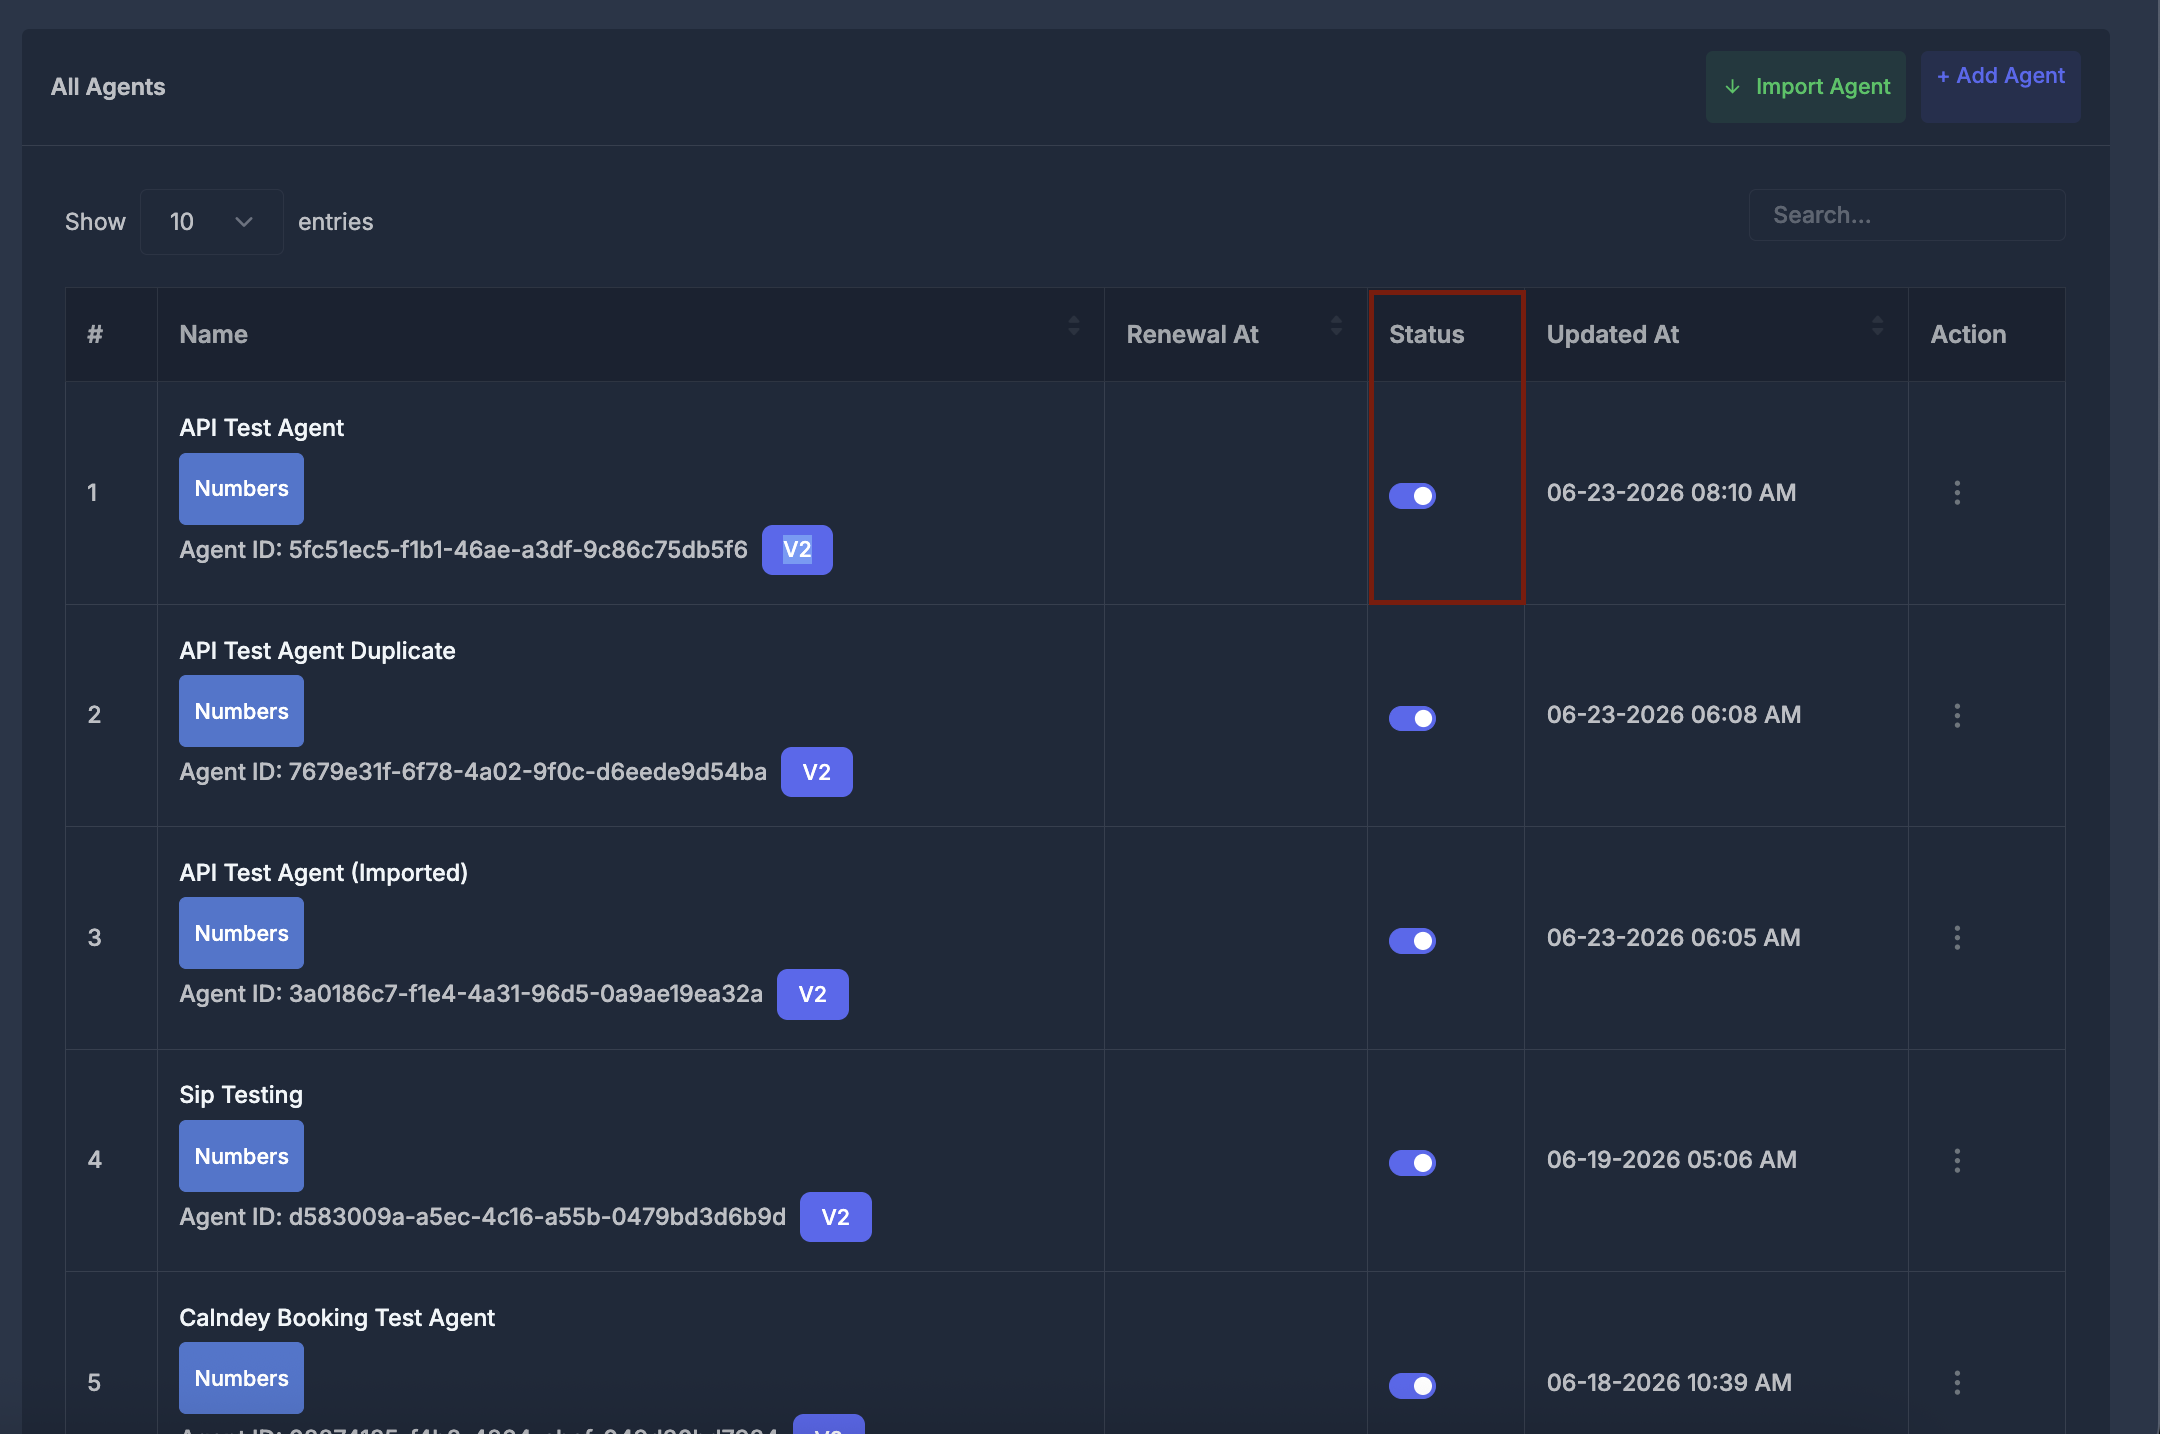
- A switch for on or off.
- On means the agent is treated as active.
- Off means inactive.
- When you change it, you may briefly see a “please wait” style message, then success or failure.
⏰ Updated At
The date and time of the last recorded change to the agent, shown in your timezone.
⚙️ Action
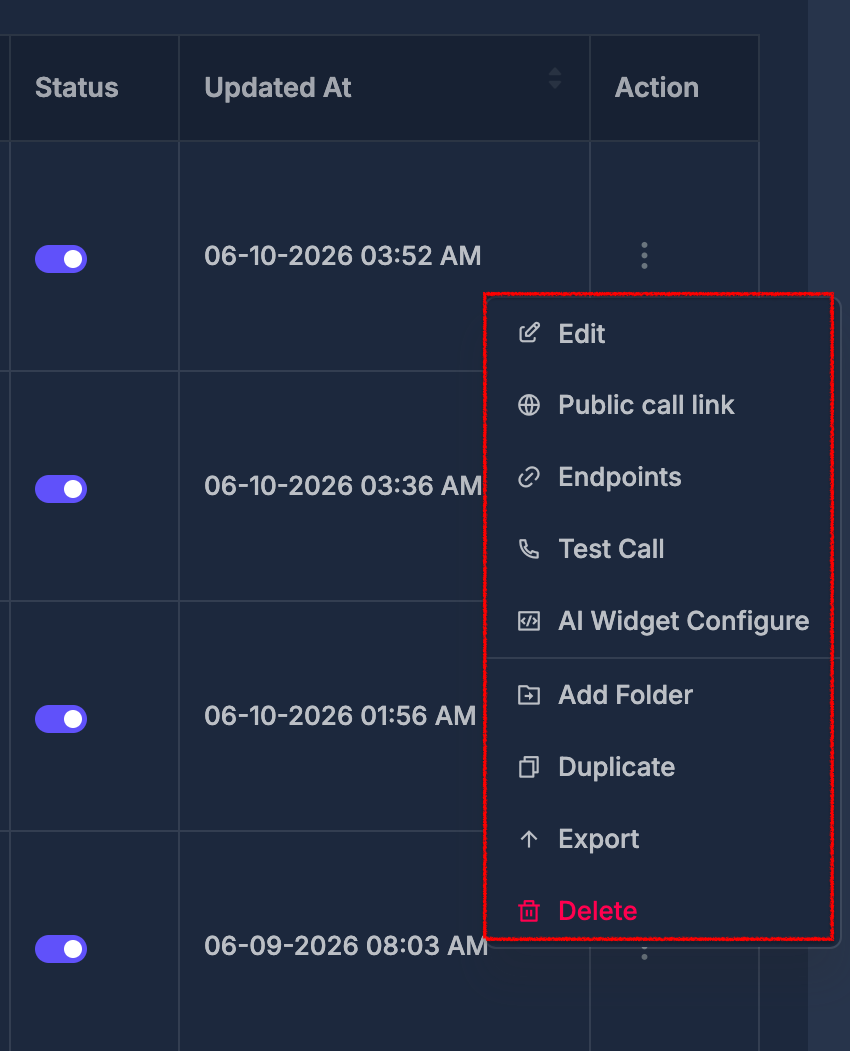
Opens a menu with more choices .
⋮ Three-dot menu#
The exact wording or destination can differ slightly by agent type, but in general:
| Option | What it does |
|---|---|
| Edit | Opens the full settings screen for that agent. |
| Public call link | Generates and displays a public-facing link that anyone can use to initiate a call handled by this agent. This is useful for embedding in web pages or sharing directly with users to let them start a call with your AI agent from anywhere, without requiring authentication. |
| Endpoints | Shows the address, method, and fields used to start calls from outside systems, in a dedicated view. |
| Test Call | Opens a small window: enter a phone number to try a test call. |
| AI Widget Configure | Opens the screen for the website call widget tied to that agent. |
| Add Folder / Change Folder | Puts the agent in a folder or moves it; you can also choose no folder. |
| Duplicate | Creates a new copy based on that agent. Your company’s agent limits and extra charges may apply. |
| Export | Saves the agent’s setup and related details into a file for backup or for importing elsewhere. |
| Delete | Permanently removes the agent after you confirm. Extra permission may be required. |
☎️ Numbers window (Manage Numbers)#
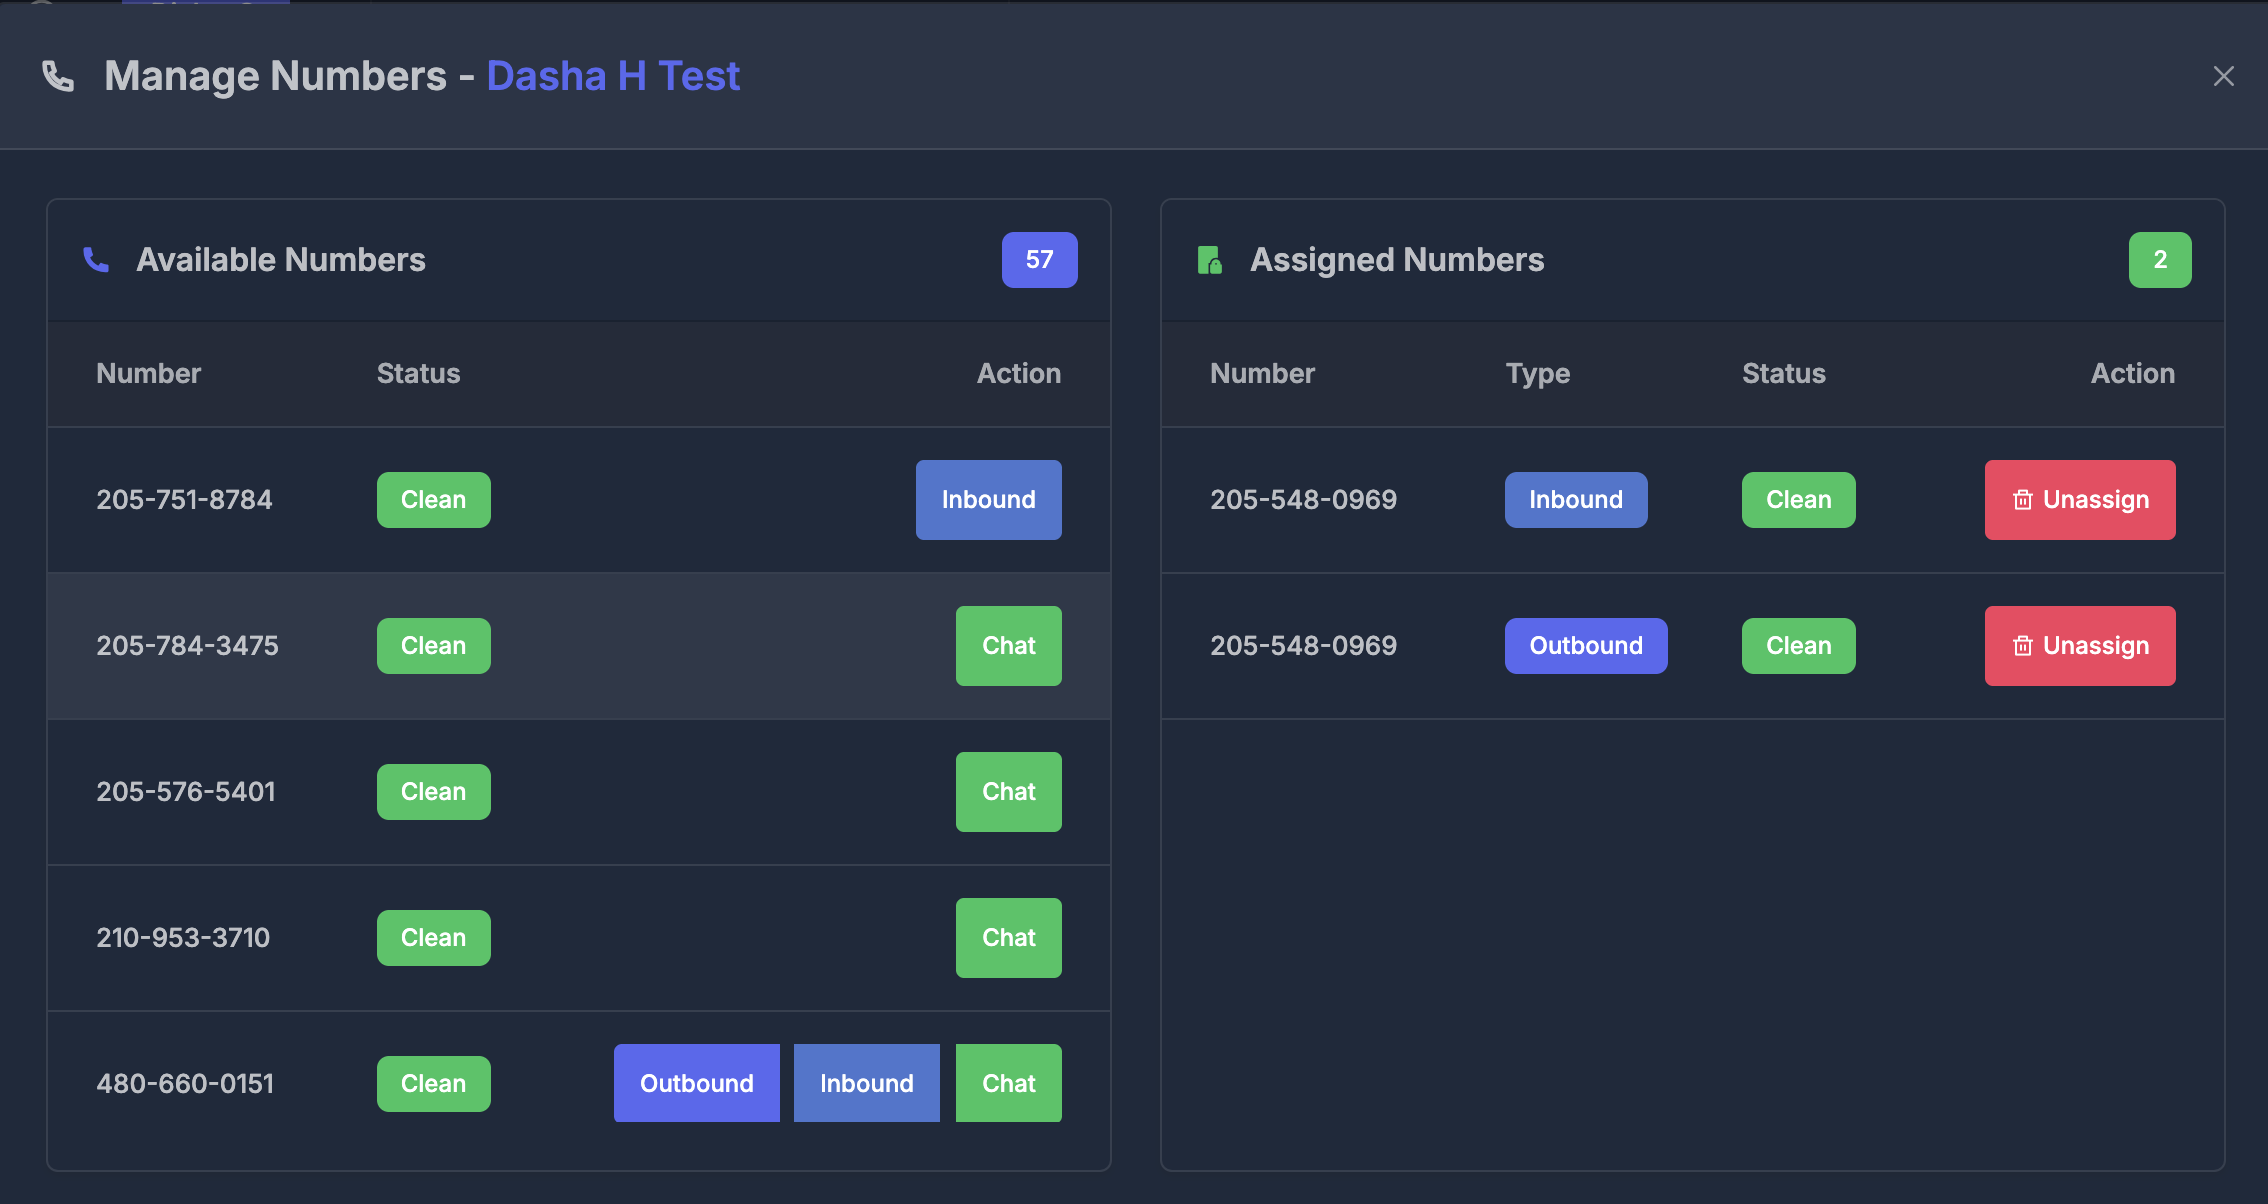
When you click Numbers, you’ll open the Manage Numbers panel for that agent:
- The panel title displays the agent’s name (example: “Dasha H Test”).
- Two columns are shown:
-
Available Numbers (left): Lists all phone numbers that are not currently assigned to the agent but available for use.
- Number: The phone number available for assignment.
- Status: Each number shows its current status, such as Clean (green label) or another state if flagged.
- Action:
- If assignable, you’ll see blue Inbound and Outbound buttons depending on the features the number supports. Click one to instantly assign the number to the agent for that capability.
- The green Chat button will only enabled if the number is an A2P-linked number (i.e., linked for Application-to-Person messaging). Only these numbers can be assigned the chat functionality.
- Some numbers may allow both Inbound and Outbound assignment at once.
-
Assigned Numbers (right): Lists all numbers currently tied to the agent.
- Number: The assigned phone number.
- Type: Each assigned number displays a label such as Inbound or Outbound depending on its assigned function.
- Status: Shows the current state, such as Clean (green label).
- Action: A red Unassign button lets you immediately remove the number from the agent.
-
If assignment or removal fails, you will see an error message. Some numbers may require extra setup before they can be assigned.